During the lockdown period I decided to teach myself how to make real sourdough bread from scratch. The step in this process is to make your own sourdough starter, or culture.
I will post a second part to this article detailing my attempt at preparing and baking an actual loaf of sourdough bread.
What is a sourdough starter?
Also known as a sourdough culture, a starter is a mixture of flour and water which acts as a leavening agent. Wild yeast is present in all flour and a starter is a way to activate the yeast in order to bake with it. The sourness comes from the living bacteria growing alongside the yeast in the starter.
As the starter matures the wild yeast and bacteria develop making it stronger and more complex in flavour.
Only a small amount of sourdough starter is needed to make a loaf of bread. Wild yeast works more slowly than commercial yeast so recipes made with a sourdough starter will typically take longer to make.
Making a sourdough starter is a simple process of combining flour and water, which is then subsequently ‘fed’ or refreshed with more flour and water over a period to encourage the yeast to ferment and the bacteria to develop.
Sourdough starter timeline
The process of making a sourdough starter can be lengthy (about 5 or 6 days), it is not complicated. This is the process that I have used with success.
If the process below is followed, you should be well on the way to creating you very own sourdough starter:
Day 0
125 g flour + 125 g water, stand for 48 hours.
- Place the flour and water in a mixing bowl and stir until well combined.
- Transfer the mixture to a glass jar, seal and set aside in a warm draught-free place for about 48 hours.
Variations
Rye or wholemeal flour can be substituted for plain flour for variety.
Day 2
1st feeding: 125 g starter + 125 g flour + 125 g water, stand for 24 hours.
- Remove and discard all but 125 g of the sourdough starter from the jar.
- Add 125 g plain flour and 125 g water to the jar and stir well to combine.
- Seal the jar and set aside in a warm, draught-free place for 24 hours.
After the first feeding and rise, the starter should have risen slightly (up to 50%). Random bubbles should become visible on the surface as well as through the side of the jar indicating the wild yeast is active and starting the multiply.
Day 3
2nd feeding: 125 g starter + 125 g flour + 125 g water, stand for 24 hours.
- Remove and discard all but 125 g of the sourdough starter from the jar.
- Add 125 g plain flour and 125 g water to the jar and stir well to combine.
- Seal the jar and set aside in a warm, draught-free place for 24 hours.
After the second feeding and rise there will be more visible bubbles but they will be smaller and more uniform.
Day 4
3rd feeding: 125 g starter + 125 g flour + 125 g water, stand until doubled in size (8-24 hours).
- Remove and discard all but 125 g of the sourdough starter from the jar.
- Add 125 g plain flour and 125 g water to the jar and stir well to combine
- Seal the jar and set aside in a warm, draught-free place until doubled in size (8-24 hours, depending on the strength of your starter).
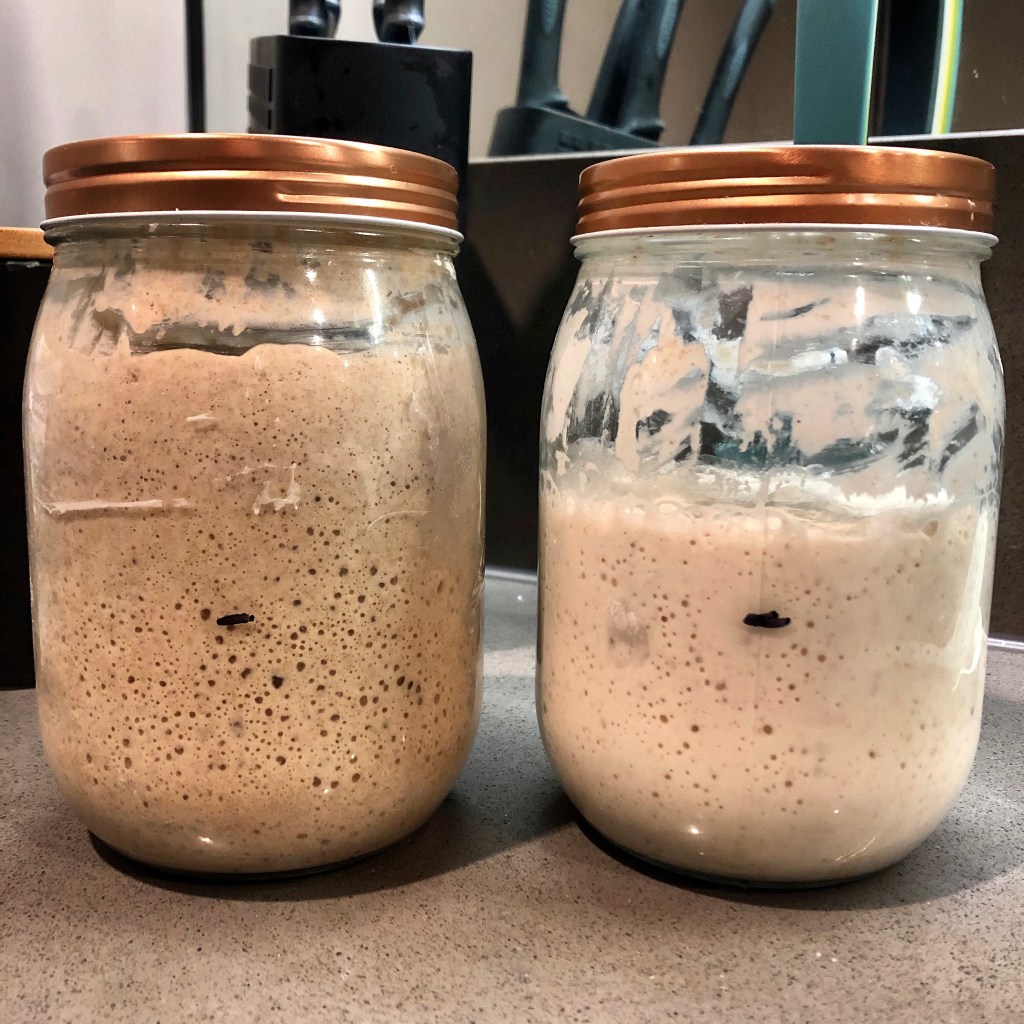
After the third feeding and rise, the starter will become more vigorous and may rise by up to 100% in less than 24 hours. Bubbles will be very evident on the surface as well as through the side of the jar.
It may have quite a sour or tangy aroma.
Day 5
If the starter has not doubled in size, continue the process above and feed every 12 hours until it has doubled in 8 hours or less.
From here, the sourdough starter is considered ‘active’ and is ready for use.
Keeping your sourdough starter
Once you have an active starter it can be kept at room temperature or stored in the fridge.
If you you’re not planning to use the starter often, it is best to store it in the fridge where it will require less maintenance. To do this, just feed as instructed previously, seal the jar and then stand at room temperature for 2-3 hours (to help reinvigorate the yeast) before placing in the fridge to store.
A starter stored in the fridge will only require feeding once a week to maintain it.
Alternatively, if you plan to use the starter regularly, the starter can be stored at room temperature and will require to be fed daily at approximately the same time.

One thought on “Making your own sourdough starter”